His good friend had all the original Angry Birds plush toys, and Will had also collected a few. But with the new emphasis on Angry Birds Space, I thought it would be fun to see how hard it would be to make our own plush toy. Long story short: it wasn't hard at all. Here's the proof:

So I started by heading off to Spotlight to gather all the felt we needed, and collecting up some stuffing that I already had at home, as well as getting out the trusty sewing machine. I have to say though, this would be just as easy to do without a machine. This project took about 2-3 hours but would get easier after the first time. I'm just not used to working with little pieces of felt.

Since the blue bird in Angry Birds Space is a cube, I thought he was the easiest character to start with, so I cut out 6 squares of blue felt - all roughly the same size.

That's when the iPad came in handy. We just used Google Images to find a close up of the real plush and cut out out our orange, black and white felt to match.

It didn't take long to approximate the blue bird's expression. In fact it was probably the easiest part of the project.

I used the machine to sew two triangles together for the beak, then turned it `inside out so the stitching was on the inside. See below:

With the eyes. I started using the machine to secure the white felt to the black, but it just ended up being easier to hand stitch - you can see below how wonky my machine stitch ended up on such a tight turning circle. I ended up leaving the final dots (for the pupils) till a bit later in the project.

Meanwhile, I started pinning the other pieces of blue fabric together, like so ...

... and then stitched the face on right side in.

The hardest part of the project was figuring out which parts of the cube to stitch together when ... and where. I secured the head feathers to one piece of blue felt, then stitched it on to the wrong side of the bird, making it look like - ahem! - a certain part of male anatomy (or is that just me!). But it was very quick to unpick!
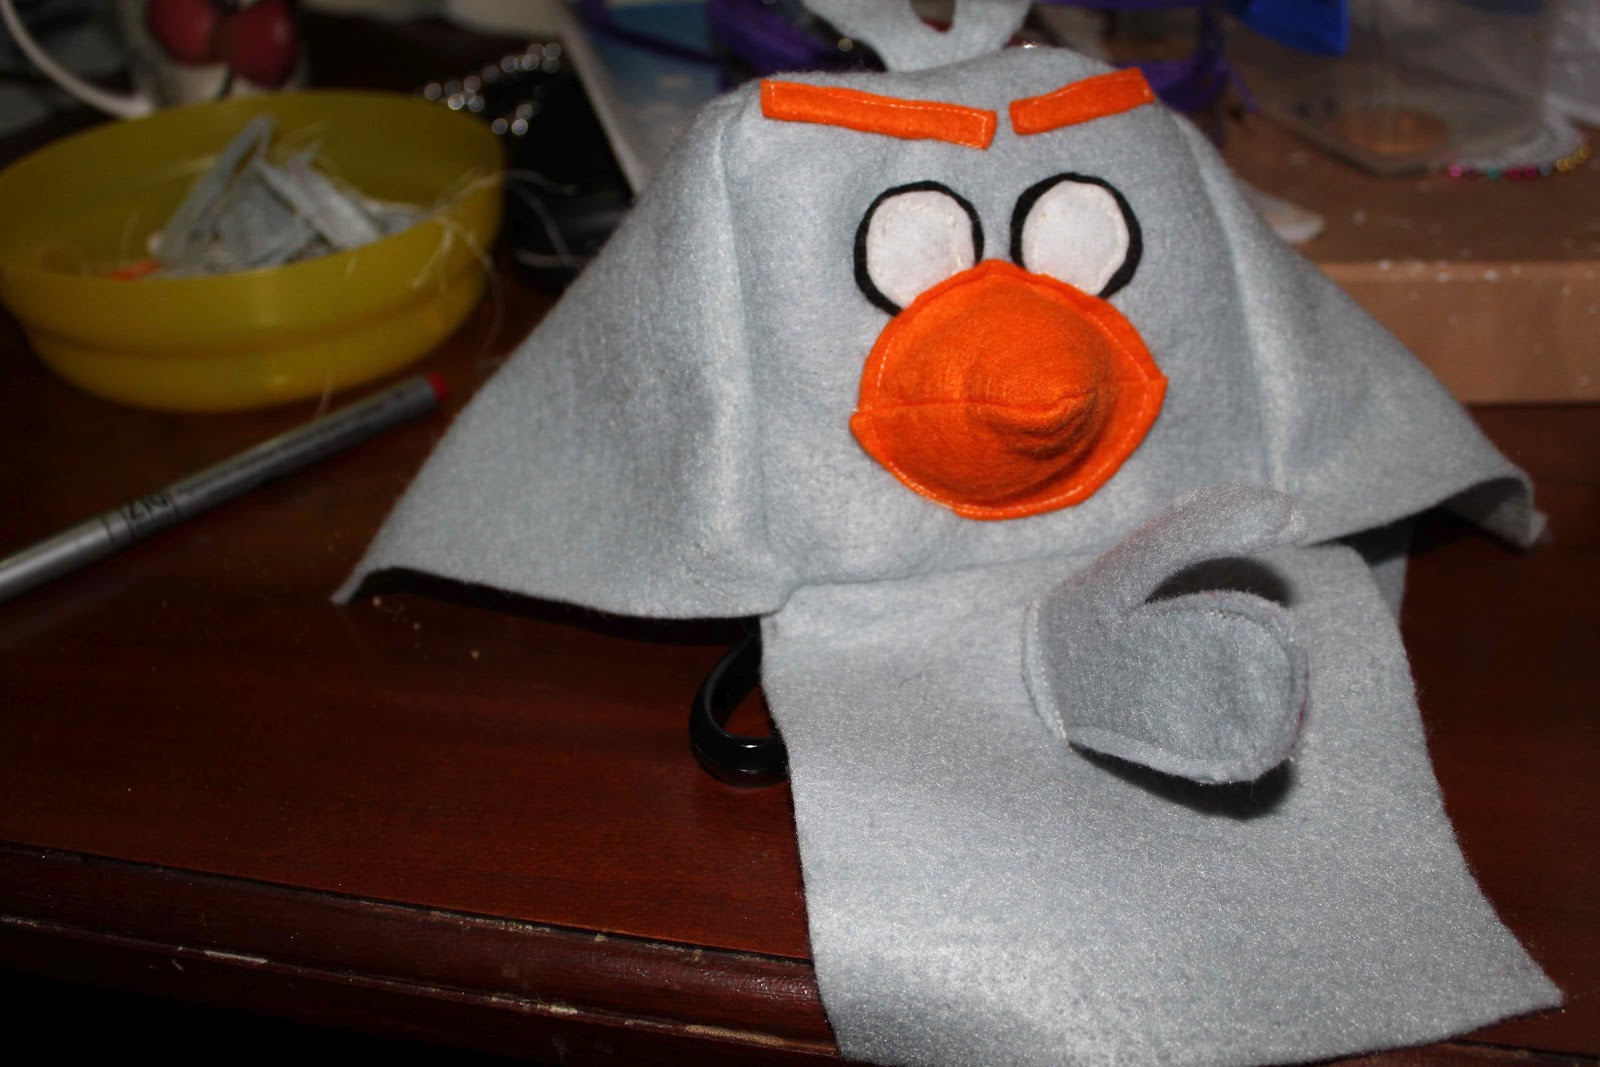
Here you can see it's going on now in the right spot.

You can see some evidence of the red fabric marker i used as a template for the head feathers, but it rubbed right off after this.

Next I continued to stitch the cube together - it was hardest at the corners where I had to gather the seam allowances for each side of the cube without leaving a hole (it's hard to describe this, but trust me - its the most painful part of this relatively painless project!).

Here is the little guy almost finished - his other pupil needs to be hand-stitched on, but here I just stuck a bit of stuffing in to see how he was looking.

Finally, I just hand stitched the last part of the cube closed. This shot is the only evidence that I incuded tail feathers, and even had the forethought to leave the hand stitching for the least visible area. Miracles do happen!

And time for the reveal! This is Will with his original (and shop-bought) Angry Birds, as well as our little hand-made creation in the front.

And one more parting shot:
Thanks for stopping by!

Cute Angry Birds plushes!!! I'd love for you to share these and any other crafts at my new linky party, Submarine Sunday. I hope you'll stop by!
ReplyDeleteT'onna
http://navywifeypeters.blogspot.com/2012/10/submarine-sunday-3-features.html